how to make curd at home or thick curd or dahi: It is a very commonly asked question by most of us who look forward to making curd at home. Every household or every family uses curd in most of the ways and in Summers it is mostly used in every family.
Today I will be sharing how to make thick curd at home easily and the procedure to set it using curd to help it set in few hours. Also check out curd recipes from the blog such as curd rice, punjabi kadhi pakora, dahi kadhi etc...
Below I would be sharing every detail that is helpful to set the thick curd.
Making curd in winters or monsoons
This is a very common question for all of us and many of the times we fail in making the curd during cold temperatures. The curd does not set even after 2 days of making it.
The reason is because of the cold temperatures the starter does not work as it does for summers. It sets quickly in summers and if the temperatures are too warm, it sets in 5-8 hours or can take a whole day.
Therefore, following some tricks and tips may help it to form thickly in winters as well.
Tip 1
- Boil the milk and using full cream milk helps in the thick formation of the curd.
- If the milk used is watery then the curd may not form properly.
- When the milk boils, take a casserole, pour milk into it.
- Let it turn warm and not remain too hot.
- Once the milk turns warm, add the curd starter and give a good mix.
- Cover the casserole with a lid tightly.
- Cover the casserole with a towel cloth or take any cloth and wrap it completely and keep the casserole warm.
- Place the casserole near a warm place such as beside a gas stove or in a microwave or any warm place.
- Allow it to rest overnight or the whole day.
- This method helps in setting the curd quickly during winters or summers.
- curd formation depends on the type of bowl one uses, the steel bowl or a casserole or a pot all make a difference in its formation.
- Some curd sets in 4-8 hours or some take a long time depending on the weather and time the curd at home is made.
Tip 2
- Boil the milk and pour it into a steel container or bowl.
- Allow it to turn warm and not too hot.
- Add the curd starter into the milk and mix it well.
- Cover it with a lid.
- Boil some water in a pan or wok, switch it off.
- Place a stand inside the wok and place the curd bowl closed tightly into the pan/wok/pot.
- Cover the lid of the pot.
- Allow it to sit for few hours or a day and we can see a thick curd is formed.
How to make thick curd at home
- Always try to use little sour curd to set the curd which is also called Jaman in common Indian languages.
- Using curd that is sour while setting the curd helps to make curd formation quickly.
- If the curd that is used is a little sweeter then double the quantity of the starter. For example: If 1 tablespoon sour curd is added try to add 2 tablespoon if the curd is sweet to help it form better.
- Always try to make curd by placing the container in a warm place.
- If the curd box is given warmth then it helps in the quick formation of the yoghurt.
- The milk should not be completely hot. Always allow the milk to reach a temperature slightly warmer than lukewarm.
- For example: After boiling the milk, let the milk become warm. If a finger is dipped, one should feel the heat but the finger should not burn nor the milk should be completely cool or lukewarm.
- Make sure the milk temperature is slightly higher than lukewarm.
The main technique to make it is to give the curd formation bowl a warm temperature.
Below I will be showing the step by step procedure to make thick curd at home without using a store-bought one.
Curd at home turns out tasty if made with full cream milk and can be used for several other purposes too.
Step by step procedure
- Firstly, take a cooking pot and pour the milk. The milk that is used should be whole milk for thick curd formation or use full cream milk.
- I am using a steel container but any clay pot or other pot can be used for boiling the milk.
- I am using ½ litre full cream milk to get thick curd.
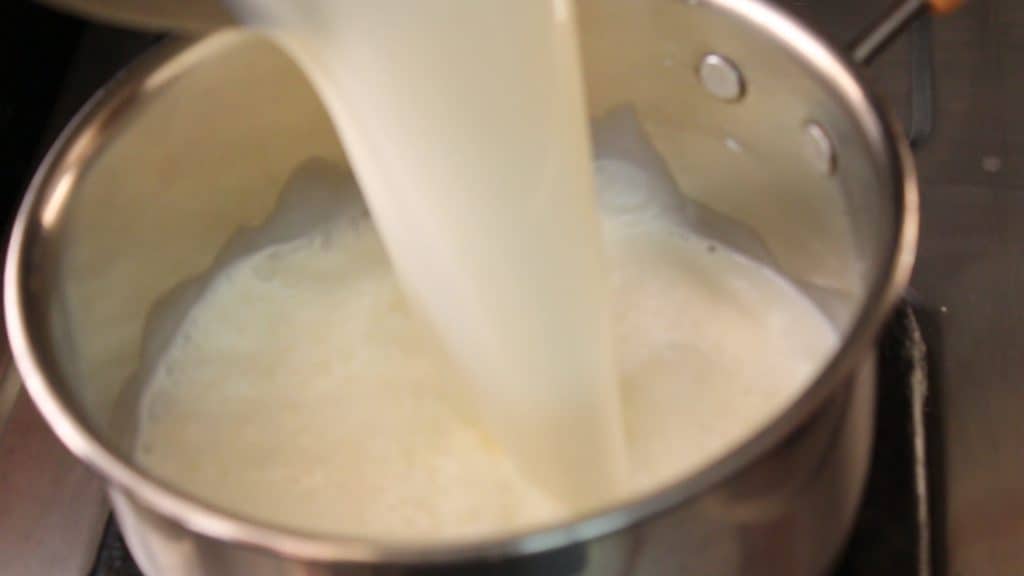
- Start boiling the milk by turning on the heat. While boiling the milk make sure the flame is not too high as the base may burn. Try to boil on low heat.
- Keep checking in between and keep stirring the milk in between to avoid the base burning.
- If using a non-stick pot or pan or any aluminium pot just stir in between while boiling with a spatula to avoid burning at the base.
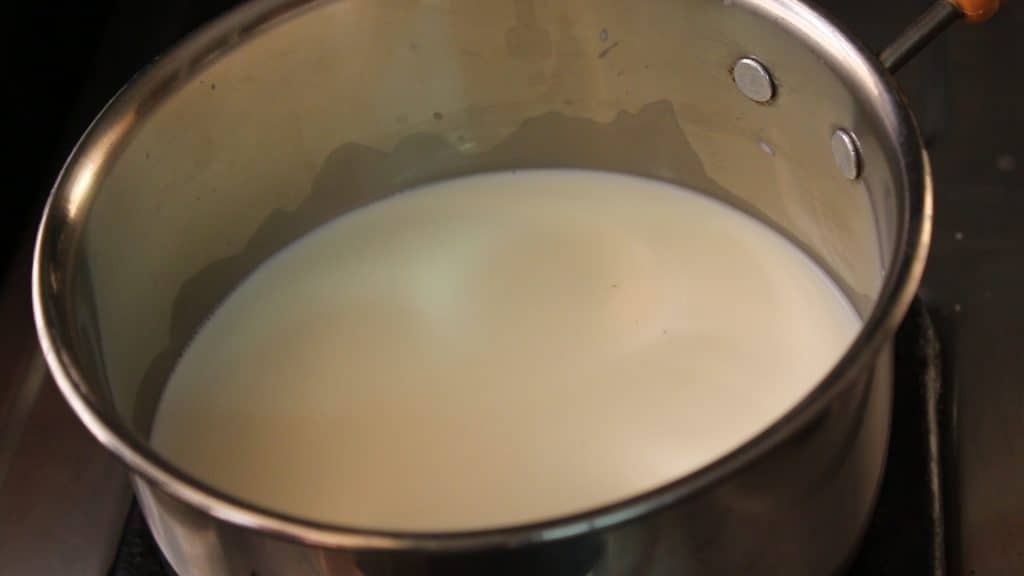
- When the milk boils, give 2-3 boils on low flame or just simmer the milk for a while stirring in between. If not stirred milk burns at the bottom and gives a burnt smell.
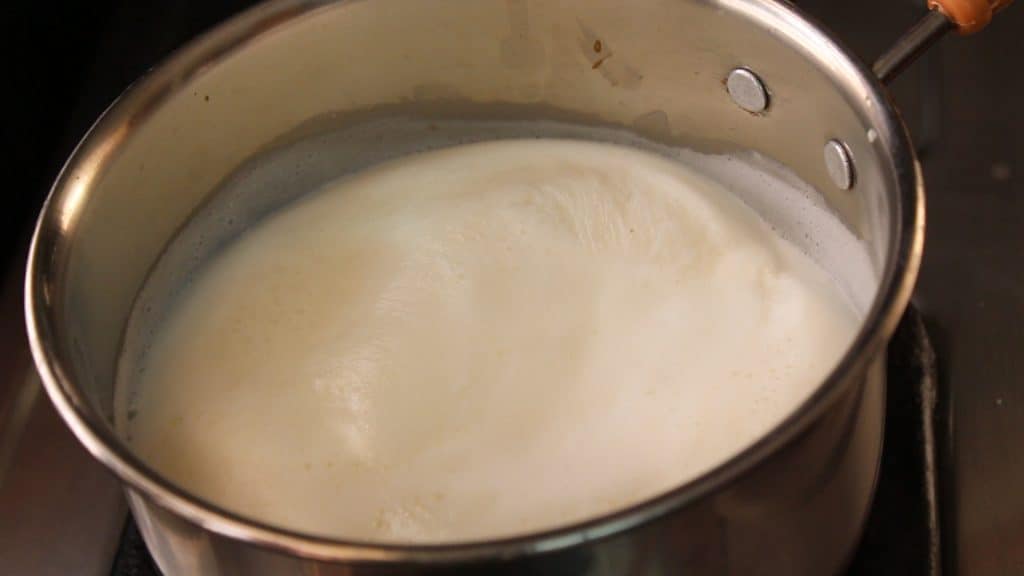
- Turn off the heat and allow the milk to turn slightly warm from hot.
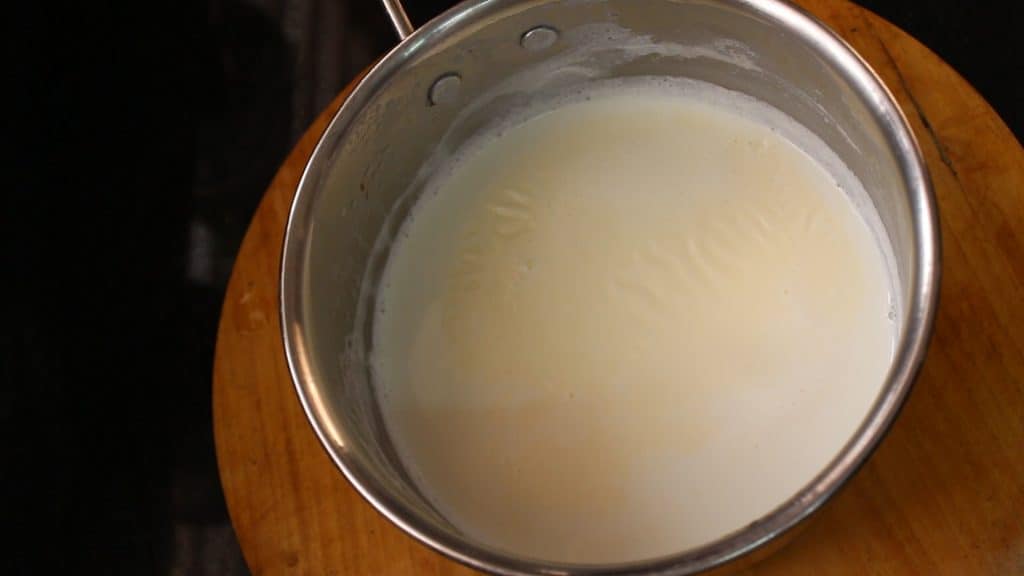
- Pour the milk into a steel bowl or container.
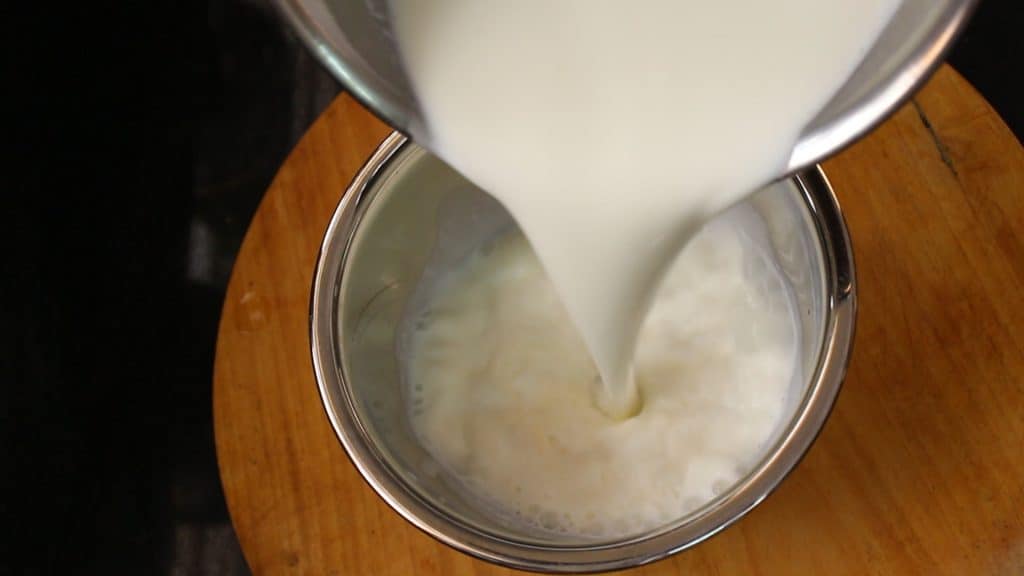
- Dip your finger and check if the milk is too hot. If it is hot allow it to turn to a warm state and if it is too cold it is not good enough to make curd from cold milk. Therefore, make sure it is warmer and not too hot enough to cause a burn if touched with fingers.
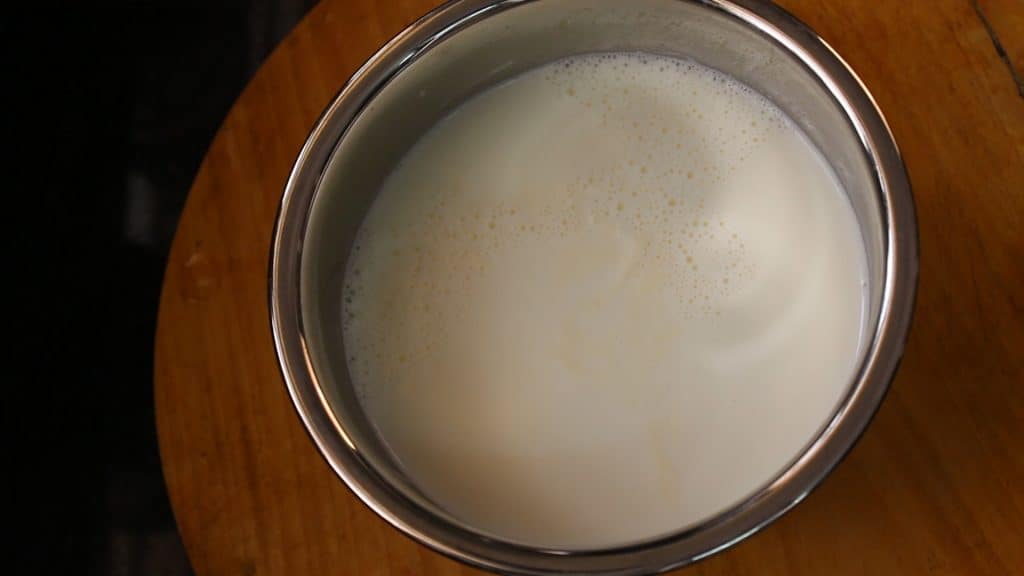
- Use a teaspoon of curd starter. If it is sour add 1 tablespoon and if it is slightly sweet add 2 tsp. Adding 1 or 2 teaspoon is enough for 500 ml milk. If the quantity is more then add 1 more teaspoon.
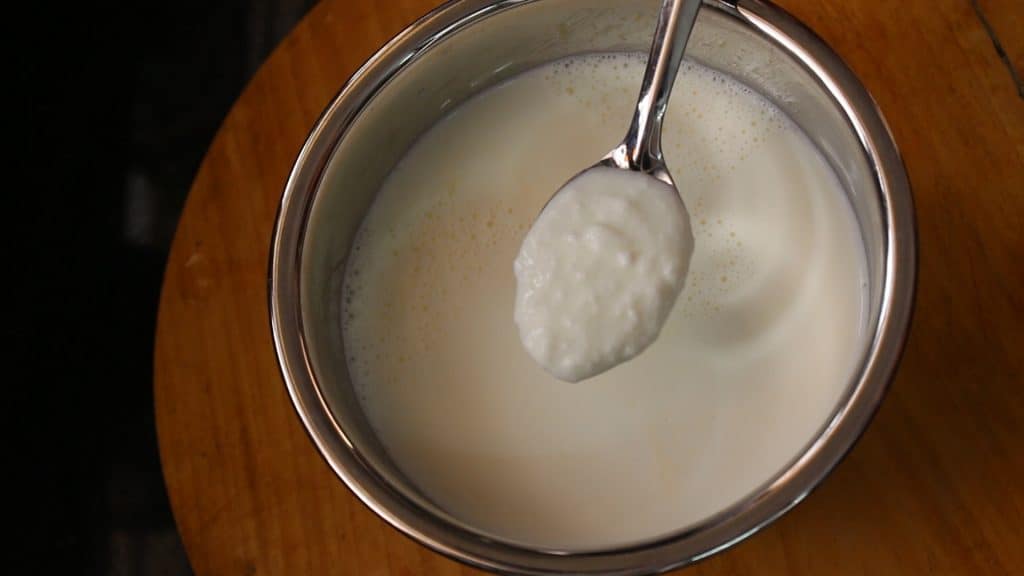
- Stir well and give a good mix so that the starter spreads in milk.
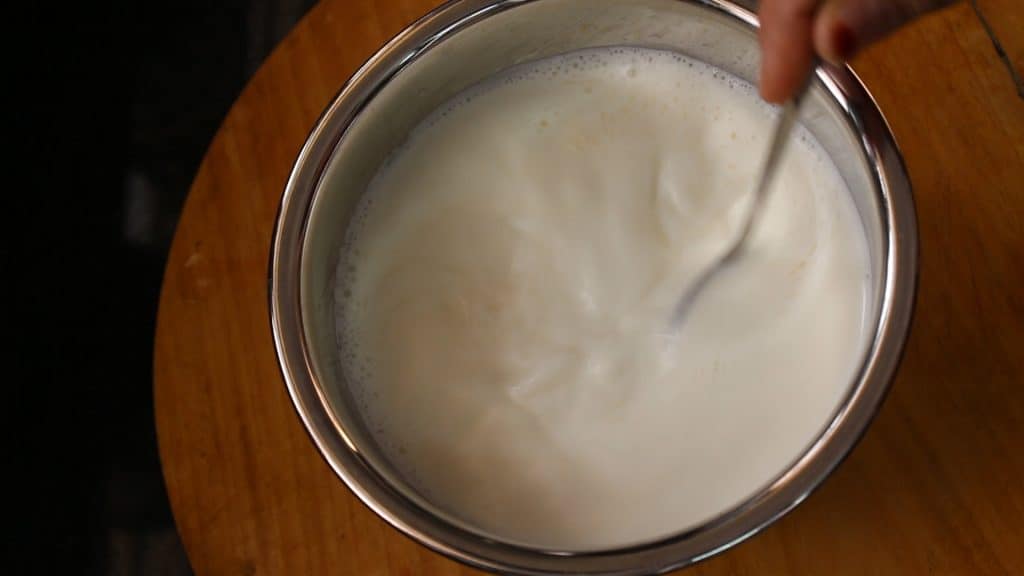
- Cover the lid tightly and place it in a warm place. The more warm the temperature is the more quickly the curd sets. Here this bowl can be tightly wrapped in a cloth to give the bowl the warmth needed and can help in quick formation.
- Here, while placing the bowl in a warm place it is a good idea to keep it near the gas stove or somewhere near to it so that it keeps getting the warmth from the sides or in a microwave.
- In summers since the room temperatures are normal, it is the best time to set curd without any formation difficulty.
- In winters, always make sure to place the bowl(closed tightly) either in the microwave, oven or near to a stove.
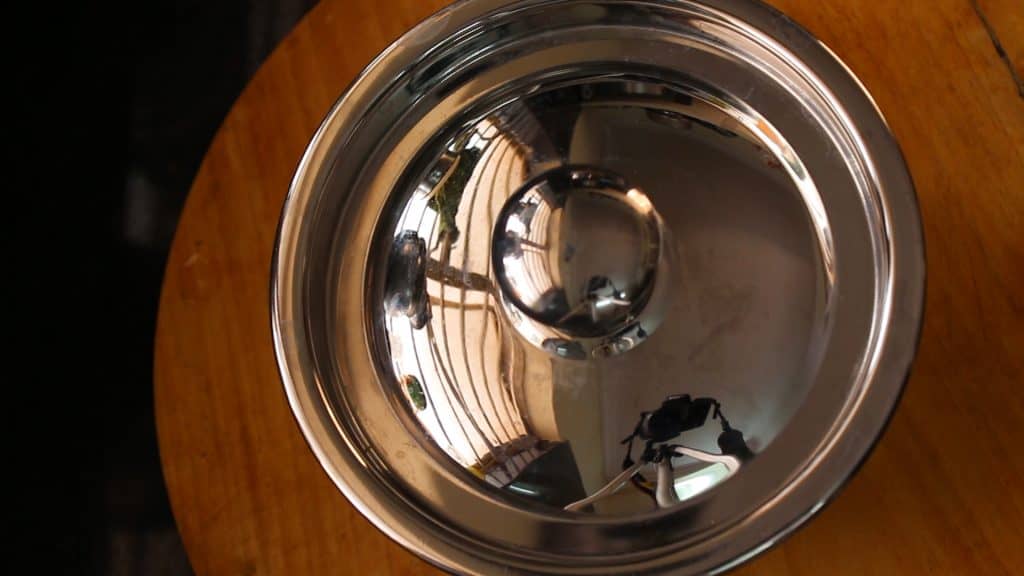
- The Curd appears thick and nicely formed after 6-7 hours especially if the room temperature and surrounding areas are warm.
- If the temperature is not warm then it can take a whole day or overnight for the curd to form this thick.
- It is better to make the curd at nights or make it early in the morning to use it fresh for the evenings.
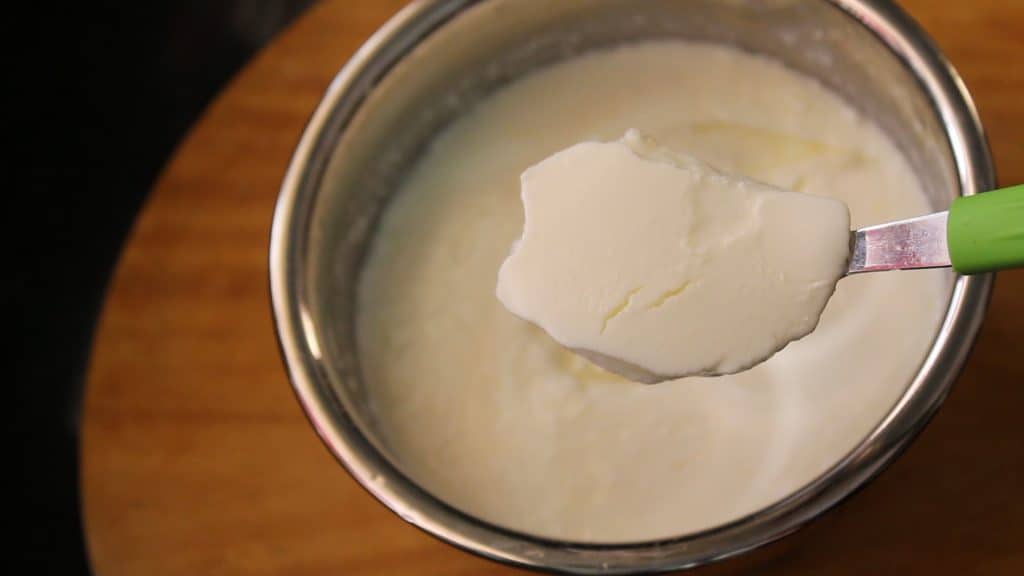
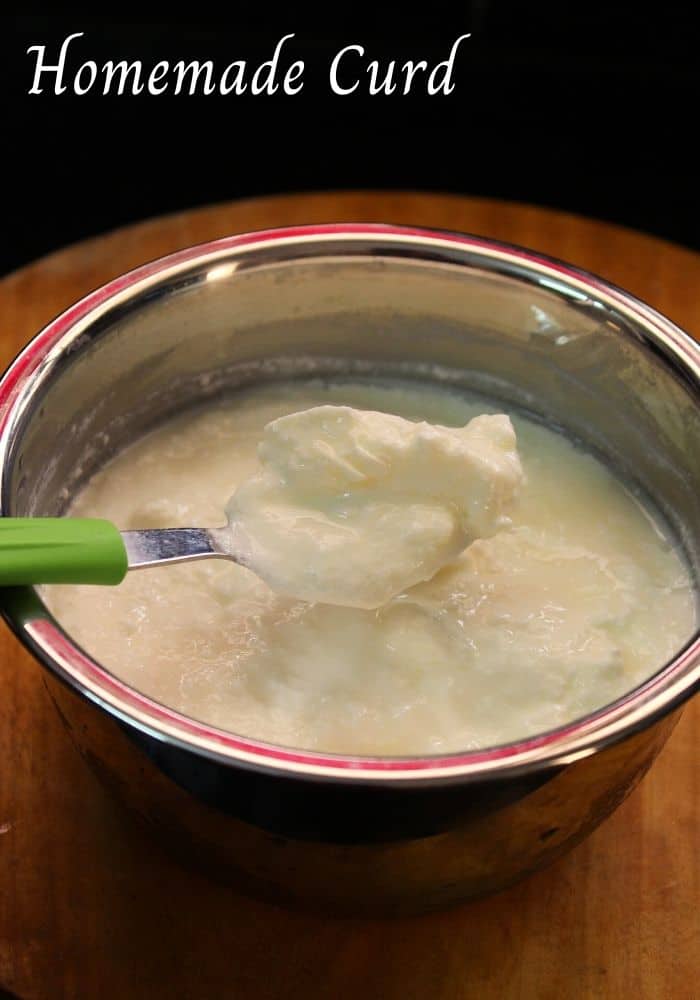
- Check out the homemade curd below... Store in the refrigerator immediately if not used to cook or eat.
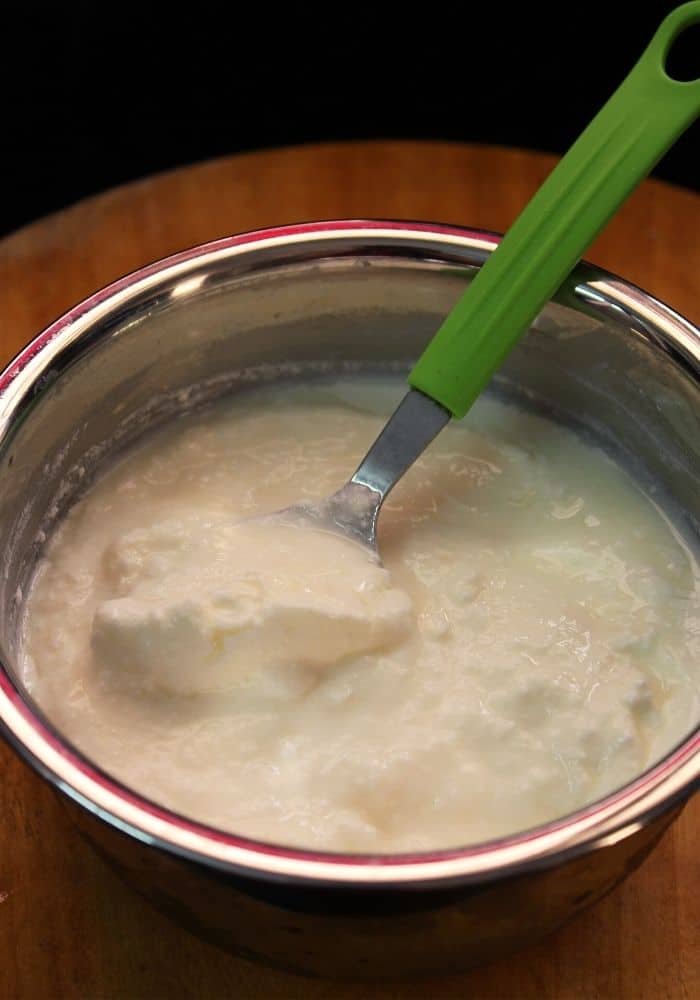
Tips to be followed after setting the thick curd
- As soon as the curd is set, place the bowl in the refrigerator and if kept open at room temperature, the curd turns too sour and not suitable to make lassi or drinks or any sweet curd recipes or it directly.
- If the curd by chance turns out sour if kept at room temperature for a long time then store it in the fridge and use it to make biryani, curry recipes as using sour curd in curries gives a good taste.
How to make curd without curd?
- There might be a time when there is no leftover curd starter to make the curd in bulk but there is a tip that can be followed to make curd without using the curd/yoghurt starter
- Use green chillies or red chillies with the stalk and add them to the warm milk. Cover the lid and keep it in a warm place for 7-8 hours or can take longer depending on the temperature.
- Adding chillies helps in setting the curd without curd.
How to make hung curd with this curd?
There are many recipes where we need to use hung curd. We may have curd at home which is slightly watery and it cannot be used for certain recipes such s shrikhand etc...
- To make hung curd use a muslin cloth and put the curd into the cloth and cover the cloth tightly with knots.
- Place this tightly sealed cloth on a strainer or sieve and place this sieve on a pot or a bowl for the water to drip and get collected. After 2-3 hours all the water drips off from the curd and thick curd without water is left.
- If no muslin cloth then just put the curd into a strainer and sieve it well by placing a bowl under the strainer and let it sieve for few hours until all the water drips into the bowl.
- The hung curd that is obtained after few hours is thick and without even a drop of water which can be used to make any dessert or any recipe using hung curd.
Recipes made with curd:
There are other various recipes that can be made with curd are shrikhand, moru curry or dahi curry as well as used to make many gravy recipes such as korma curries or in biryani recipes.
Benefits of curd
- It helps in improving digestion and eating curd in the morning time or afternoon helps in good digestion.
- It helps in keeping teeth and bones strong.
- It is known to reduce blood pressure levels as well as cholesterol levels in the body.
- It also helps in giving a good glow to the skin, good for hair and good for overall health as it also helps to boost the immunity of the human body.
Recipe
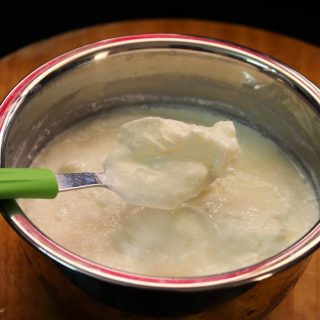
how to make curd at home or dahi making
Ingredients
- 500 ml full cream milk/ whole milk
- 1 teaspoon curd starter
Instructions
- Take a cooking pot or sauce pan, pour milk into it.
- Turn on the heat and bring the milk to a boil.
- Keep stirring the milk once or twice while boiling.
- Keep the flame medium to low while boiling the milk.
- When the milk boils well switch off the flame.
- Allow it to turn warm and not too hot.
- Pour the milk into a steel bowl or a casserole.
- Check the temperature of the milk and it should be warmer than lukewarm but not too hot while touched.
- Into the warm milk, add a tablespoon of curd starter if the curd starter is sour and if the curd is sweet add 2 tsp.
- Stir the milk well.
- Cover the lid of the bowl or the casserole used.
- Keep it in a warm place for 7-8 hours or until the curd is set sometimes overnight.
- Thick curd will be ready to use after 7-8 hours.
Nutrition
FAQ'S
As soon as the curd sets, store the curd airtight in the refrigerator in a cold place. It can last up to 5-6 days in the fridge without turning sour. If it becomes sour use it for cooking purposes. Eat it immediately after setting for sweet flavours.
It can be due to two reasons. One the temperature of the milk while adding curd starter is either too hot or cold. If it is hot then the curd formation is not right and appears watery.
If it is cold, the curd does not form at all.
It is used for cooking, eating, to make desserts such as cakes, ice cream and smoothie. It has many uses not only for internal purposes but also externally.
Using curd for hair is a great option as well as for hair packs. It helps in giving good shine to the hair as well as helps in getting rid of dandruff if mixed with lemon.
If applied to the face, it keeps moisturized and makes the skin smooth.
To make curd, use either full-fat milk or full cream milk and in India, buffalo milk is the best to make thick curd as it turns out thick easily as well as tastes too sweet if made using milk of buffalo.
Take a spoon and run the spoon over the curd. It does not move easily and a thick texture of milk appears. The curd after forming does not move and it firm at its place. This is a sign of curd formed.
If the curd is still moving then keep it aside with the lid on for few more hours and check-in between until done for more thickness.




Linda Saul says
Thank you for this recipe and the starter tip using chili. I've tried this and it works. Unable to find raw milk, I use powdered with filtered water and usually put in an extra tablespoon when reconstituting..